
Struggling to get great Studio Lights in Your Home Video Studio?
Studio Lights
As a content creator, you need to present yourself in the best light when you’re on camera. To do this you need to have a great video studio set up.
But, if your video studio doesn’t have the right studio lights, it can make you look bad on film – and no one wants that.
Whether you’re getting professional headshots taken for LinkedIn or googling how to set up a YouTube video studio, for your YouTube channel – good lighting can make or break a shoot.
So in this short article, I’ll give you my top tips for creating a video studio with professional quality studio lights.
But just having studio lights alone won’t guarantee that your video studio will make you look good on camera.
You have to know the angles to set up your studio lights at, to ensure that you look great on camera when filming yourself in your video studio.
Home Studio Tips
Did you know?
Your face will look grainy and distorted if you have dim lights. Lighting is everything. With a few simple tweaks you can create a great looking video for your podcast, or YouTube channel.
3-Point Lighting
The secret to getting the best home studio lighting set up is to purchase the right studio lights, and position them at specific angles to create the Rembrandt lighting effect.
Where you have a triangle of light under one eye and/or the half shadow on your face that looks cinematic and dynamic and interesting.
The real secret to getting great lighting is like parallel compression in audio engineering, aka the New York dirty mix where you balance differing compression levels with effects to balance 3 types of sound. From echo and reverb to compression to EQ cutting out the mids, it’s a balance.
That secret is also like sailing, as you cannot sail directly into the wind but at an angle balancing the 2 sides of the ship with the 3rd force of the wind.
You have to balance the fill lights with the key lights and the back lights for the best 3-Point Lighting set up.
What is 3 Point Lighting?
Three-Point lighting is fairly simple. You have one key light, ideally with a softbox, facing you directly, then at least one fill light with a softbox to your left by 45 degrees. And if you can, another fill light to your right at the same angle. Then, a backlight behind you to separate you from the wall and create a dynamic, cinematic 3D effect that enhances your video quality by 1000%.
By playing with the size, distance, intensity, and position of these light sources, including their degree angle, it is possible to control how light and shadow fall on a subject, creating different moods.
Key light
The key light is the main light source. It shines directly on the you, usually from the front right right or front left. It establishes the overall look and feel of the shot. Personally, I put mine directly in front of my face behind the camera. 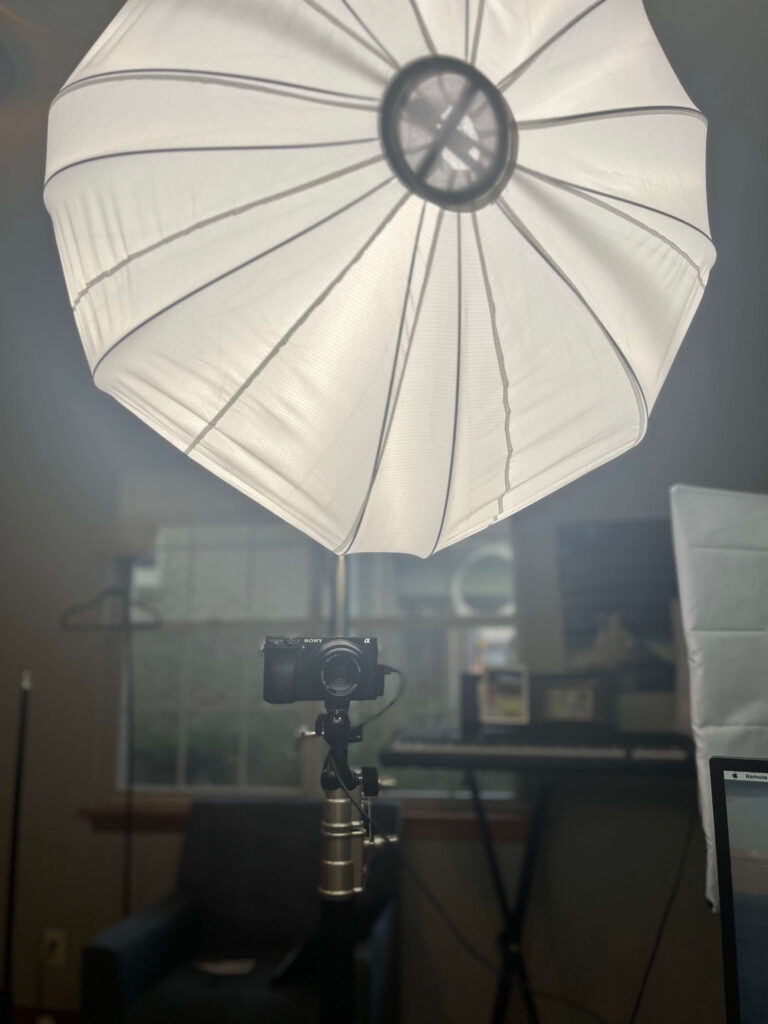
But, you could go with the established method of placing it slightly to the left or right. This will create the half-shadow effect on your face. This is balanced by the fill lights that take away the shadows that make your face grainy. Fill lights add clarity.
Fill Light (1 or 2)
The fill light is your secondary light source. It provides balance to the key light by ‘filling in’ the rest of the subject’s face with softer light. It should be positioned to the side that’s opposite the key light. If I wanted to, I could add a 2nd fill light on the other side of the GVM. Sometimes I do, but it’s not required. You need 3 lights basically.
I place my fill light to the left or the right of my main key light.
If you’re going for the 45 degree angle, for the main key light slightly to the left of your face, then the fill light would be on your right side at a similar angle. If I was going by the book, the GVM Lantern Box with Amaran key light would be slightly towards the right side of the photo (left side IRL).
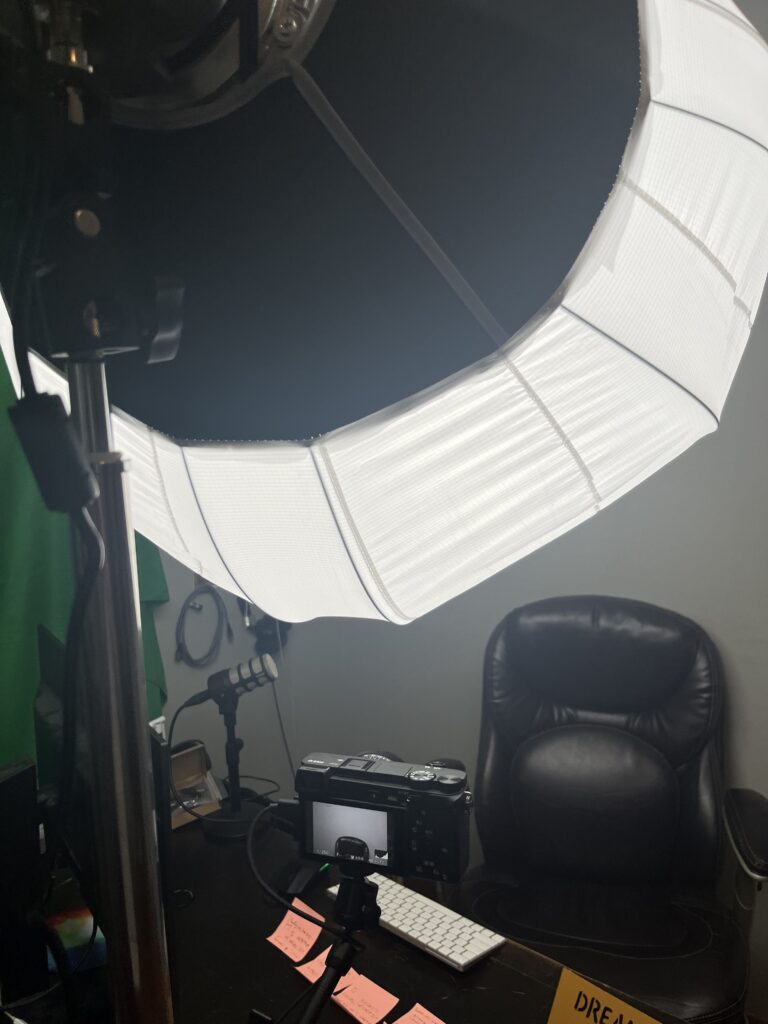
Below you can see from left to right: fill light, camera, key light (behind the chair, backlight): 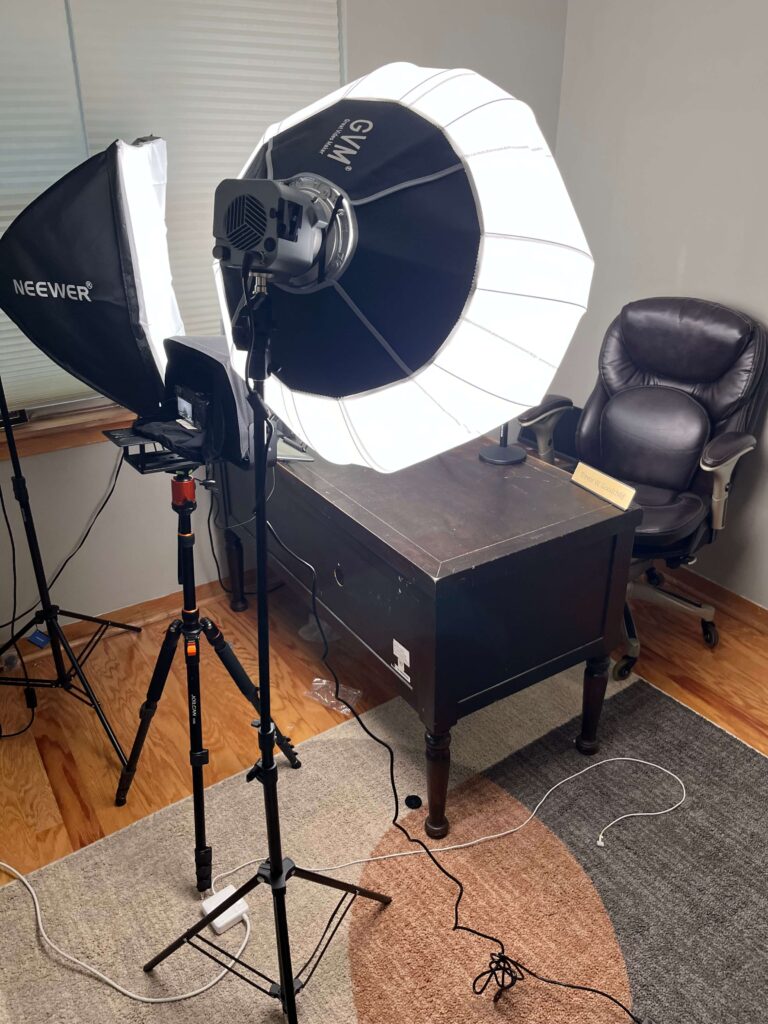
As you can see above, I have my Amaran Key Light facing the chair I record videos in, and I have my Neewer softbox fill light at a 45 degree angle to the right of my face, if I were sitting in the chair. All that’s missing is the back light, to make this home video recording studio complete. And believe me, you want a backlight. It’s a game changer.
3. Back light
The back light (or rim light) is the background light source. It creates a flattering rim of light around the you, separating them from the background. As its name suggests, it should be positioned behind the your chair or behind you if you’re standing.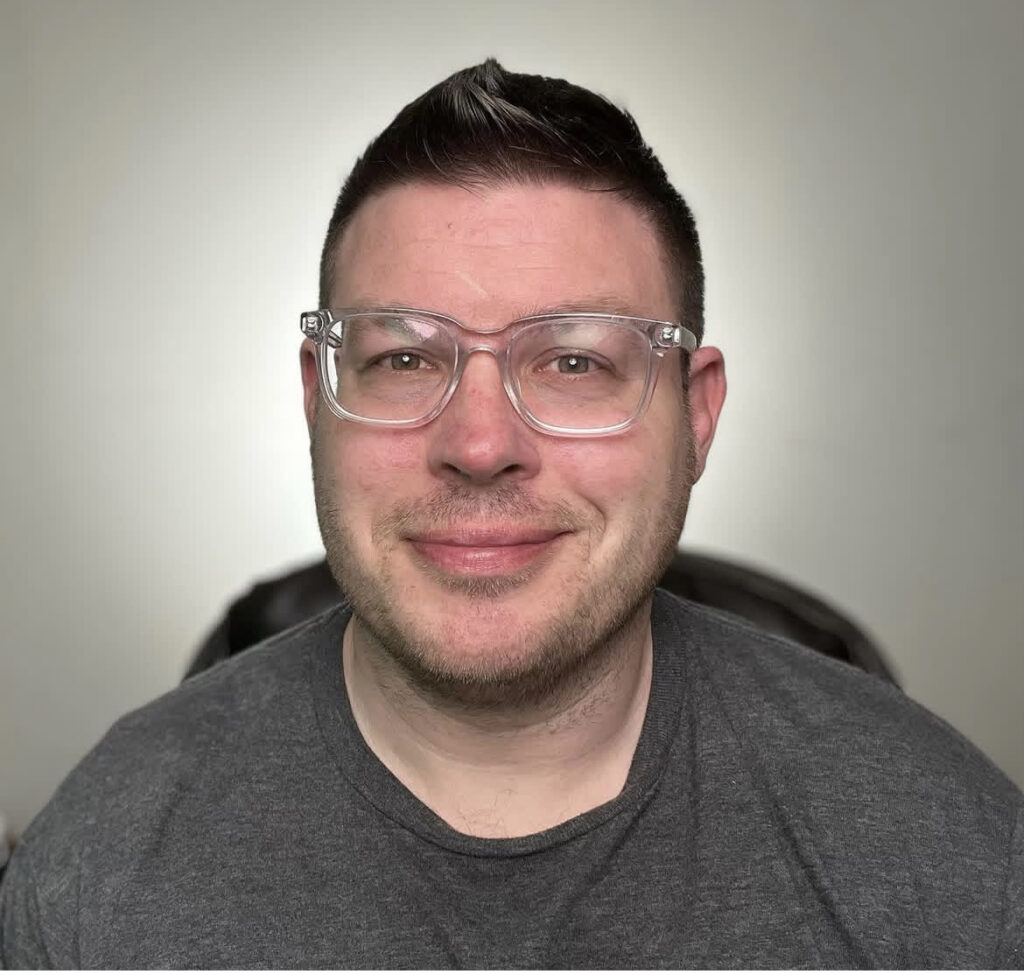
Now, you may have to try to put your back light a closer or further distance from the wall.
Backlight Pro Tip: try to create a diffused lighting effect rather than hard light if it’s too close to the wall. You want it to broaden out like a flood not narrow like a laser for the best video quality.
Just imagine this backlight behind the black office chair in the photo above the backlight pic and you have my complete set up. You have a pro level video lighting set up for under $1,000. It’s about a $500 dollar set up for the lighting I have. Let’s dive into the exact brands of lights and mics I use next.
Light Position Pro Tip
If you find out your perfect lighting with the Amaran Key Light slightly to the left of your face, the fill light slightly to the right and the back light behind you:
Use gaffer tape or black electricians tape to create a square or triangle for the feet of your light stands. Marking where the light stand was on the floor will save you a lot of time setting up your next video recording once you know exactly where to put your lights.
So, I’ll let you have a sneak peak into my home studio set up with studio lights that I call:
The 5 Piece Video Studio
Equipment List
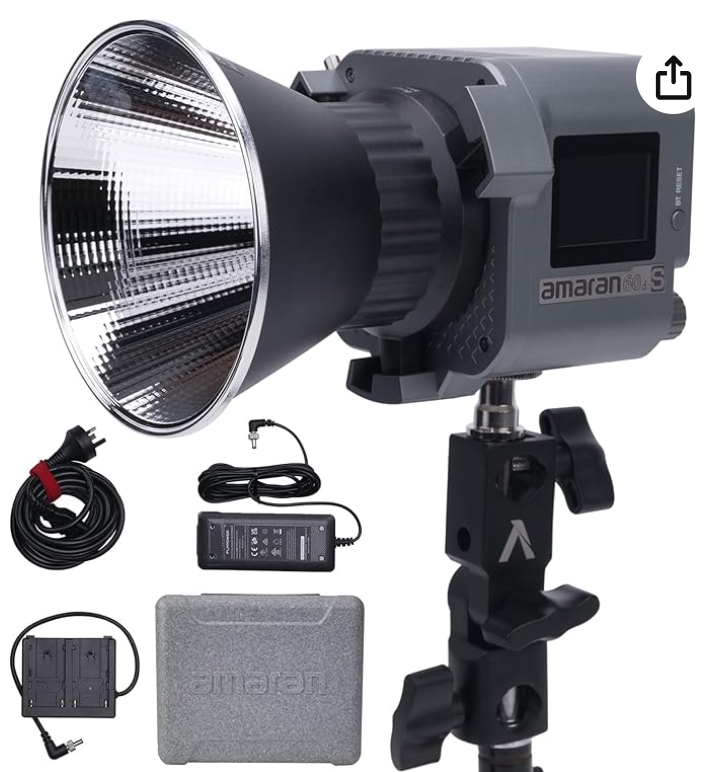
1. Main Key Light: Aputure Amaran 60D
Get Your Key Light Here
 Your main key light is used with the: 2. GVM Lantern Softbox
Get Your Lantern Softbox Here
With the Amaran 60D as your key light you need to diffuse the light, so it isn’t hard light. You do this by fitting your key light with the GVM Lantern softbox:
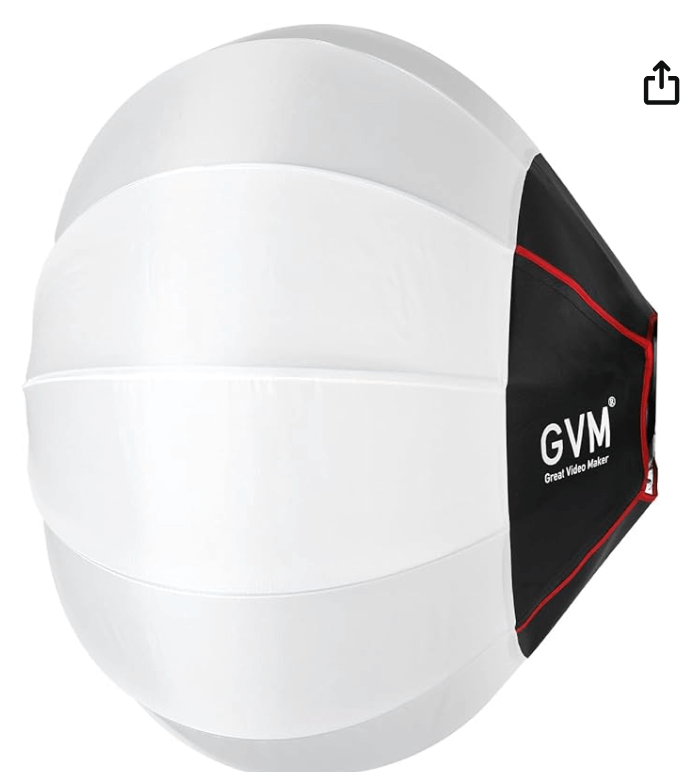
The Amaran key light is covered by the GVM Lantern Softbox, but first mount your Key Light to a quality light stand.
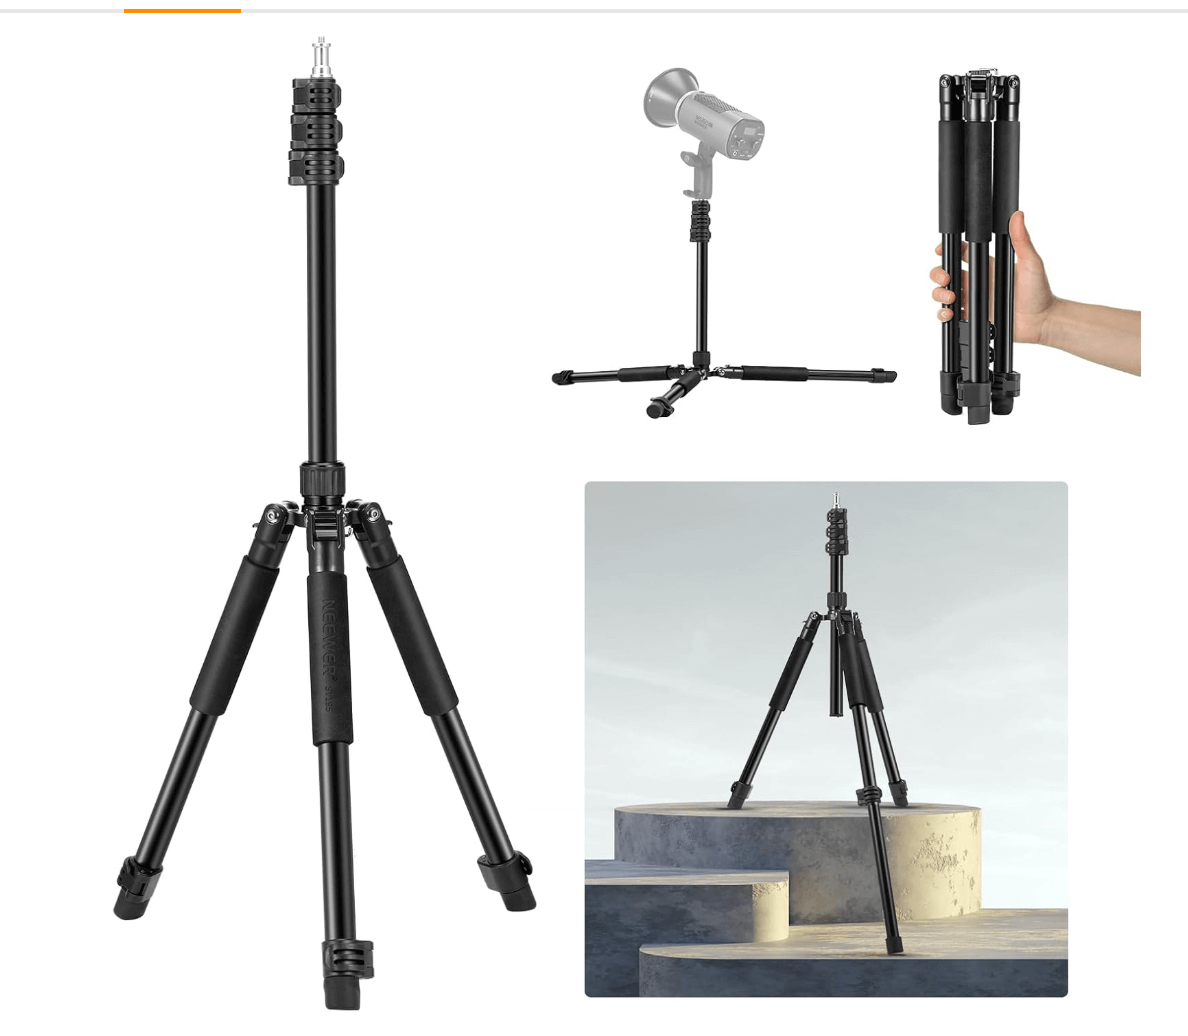
3. Neewer Heavy Duty Light Stand with Casters (wheels). Get Yours here 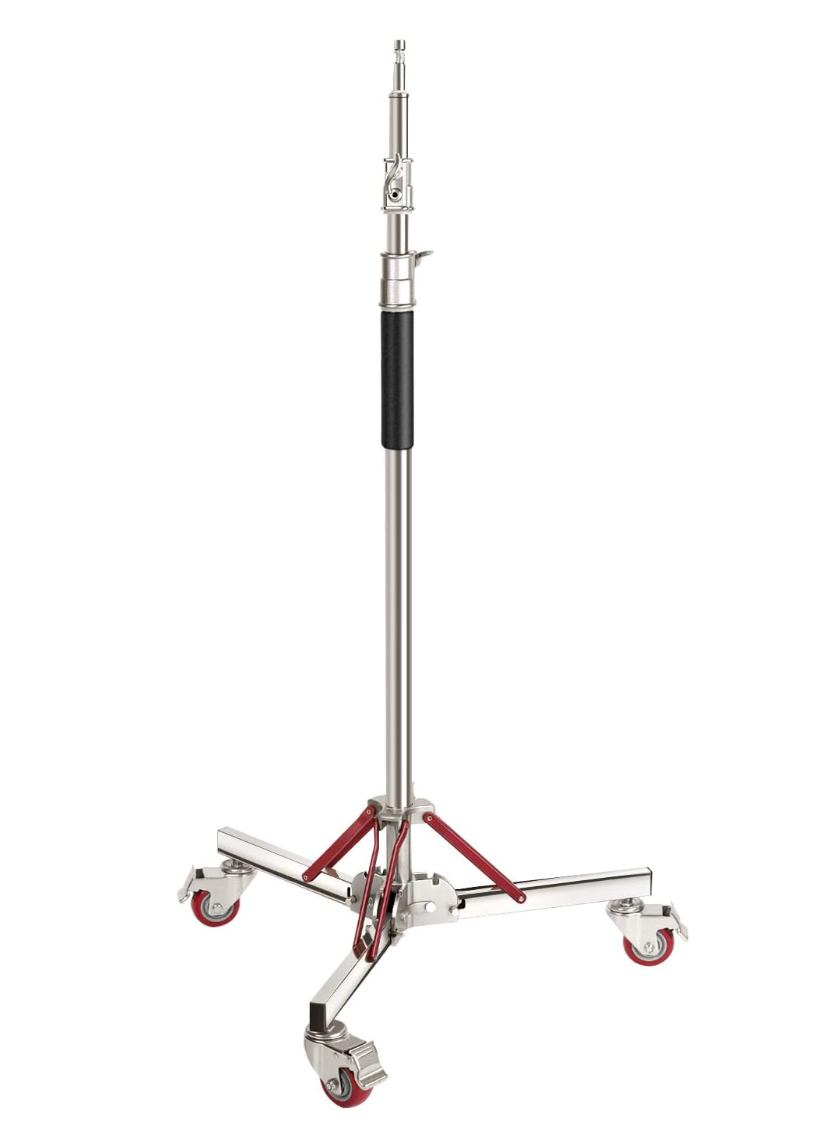
And attached to the Neewer stand is the:
4. Camera Clamp
Get Your Camera Clamp here

Which of course connects to:
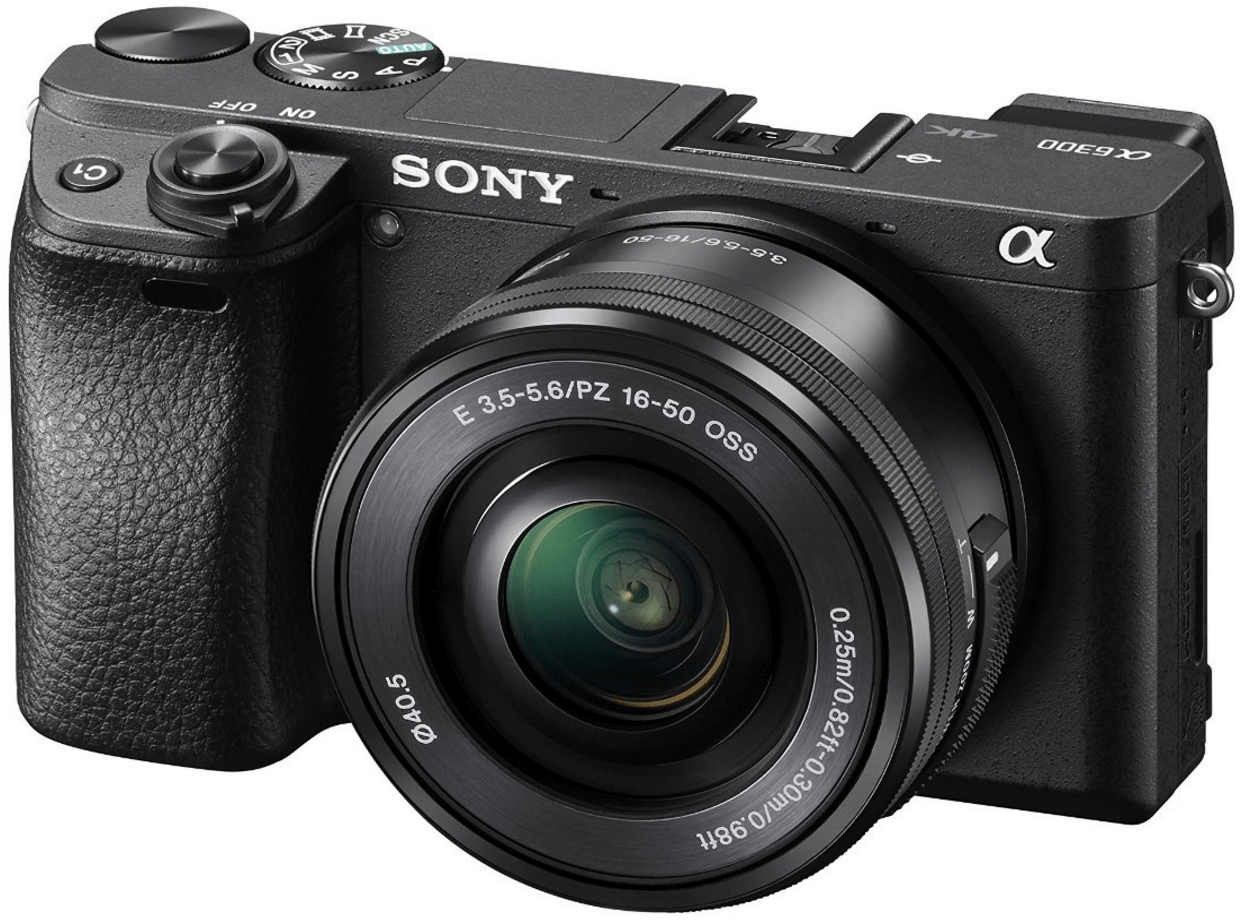
5. SLR Camera
Sony A6300 4K video
Get Yours Here
Fill Lights, Backlights
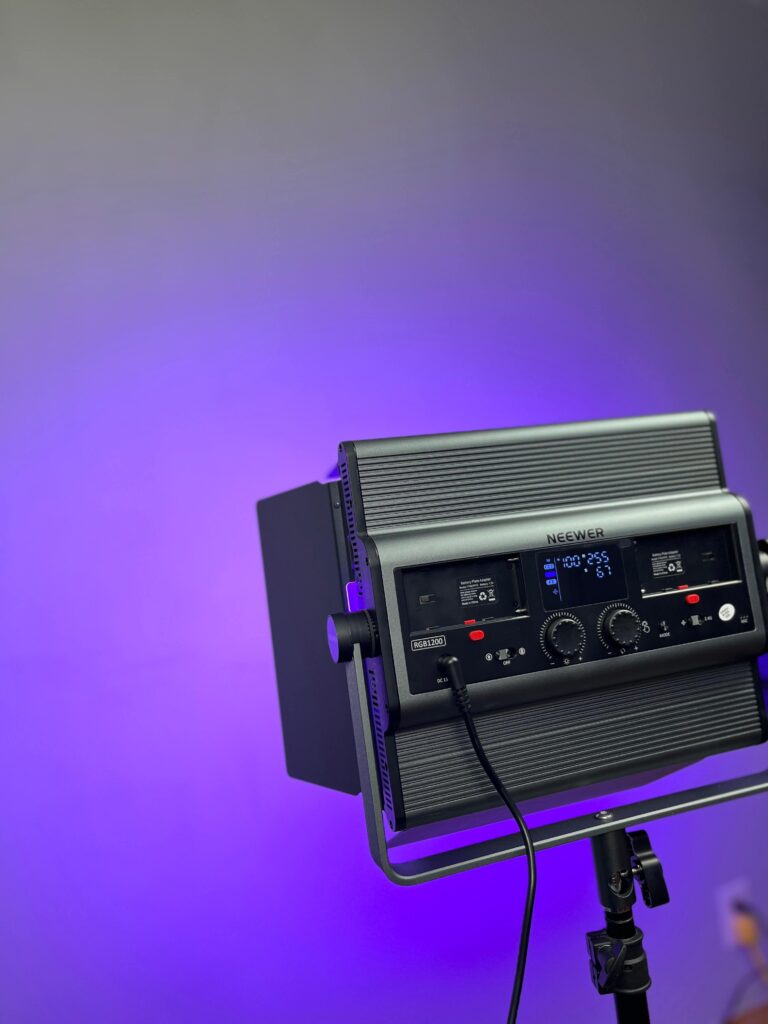
Backlight | Brand Color:
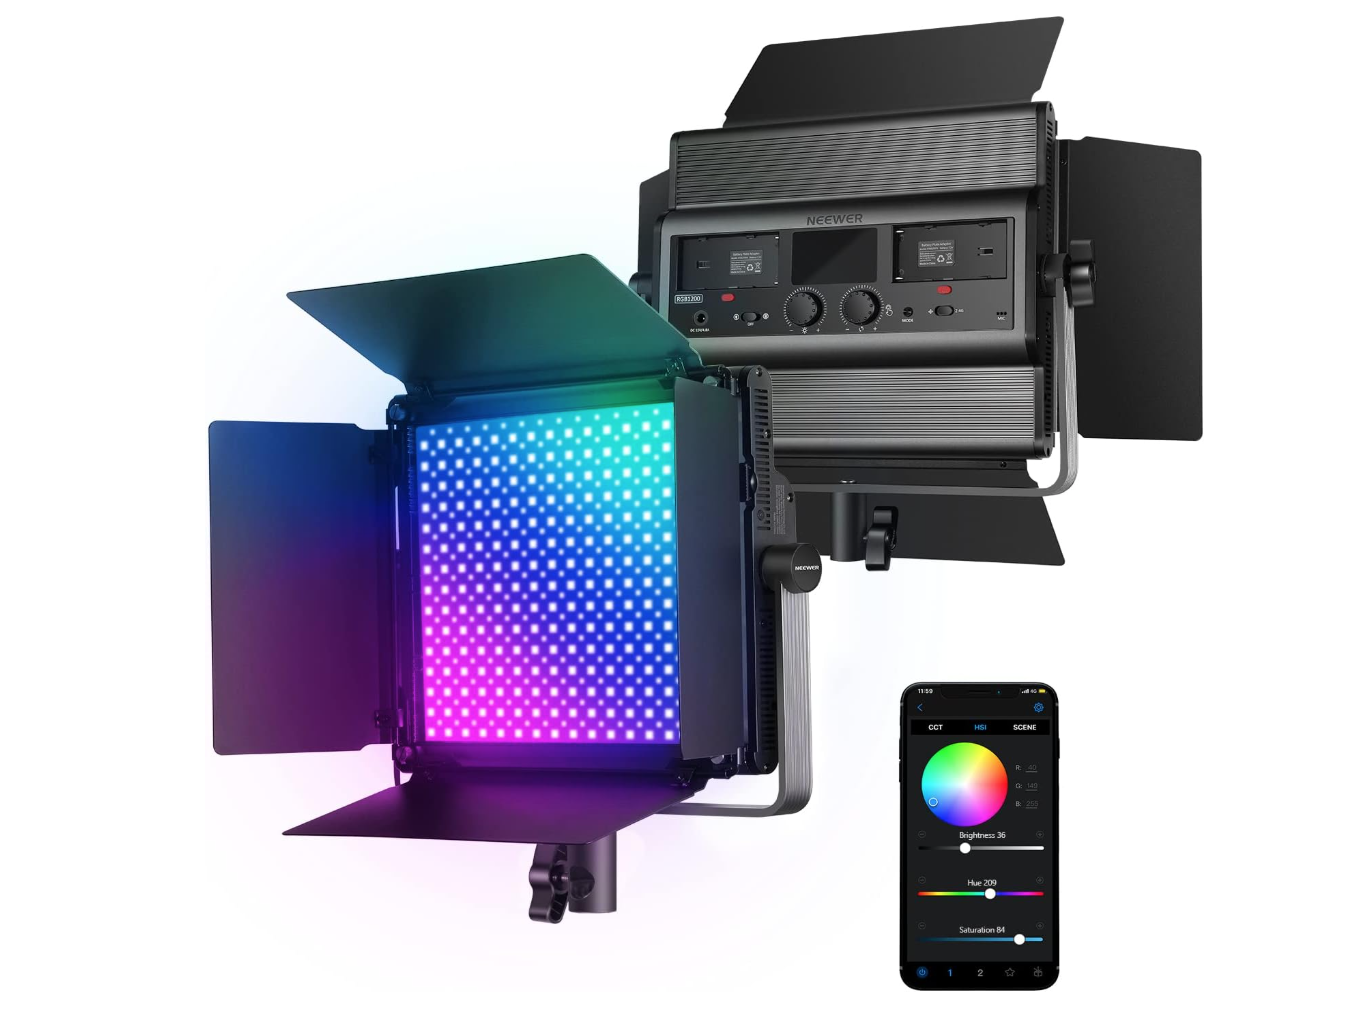
1. NEEWER RGB LED Light
Get Your RGB LED Light Here 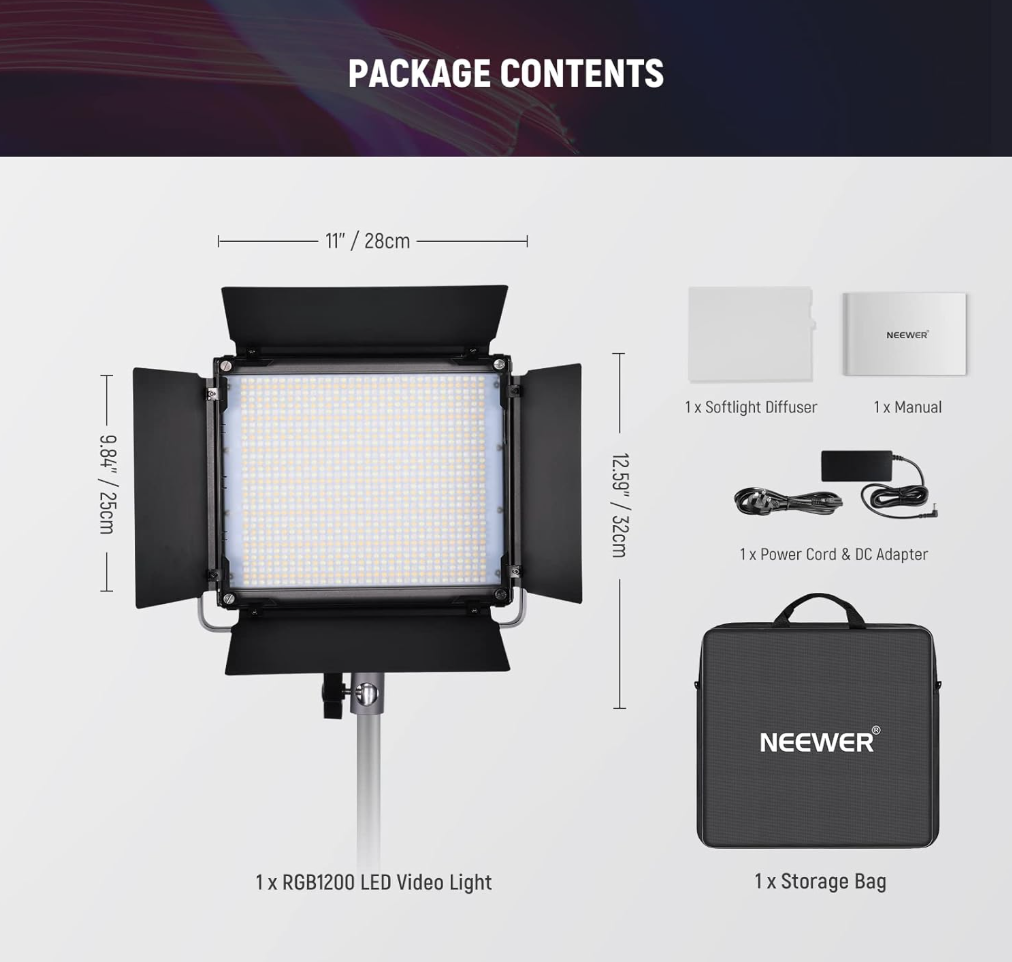
Fill Light:
2. Neewer 700W Softbox Lights
Get Your Softbox Fill Lights Here 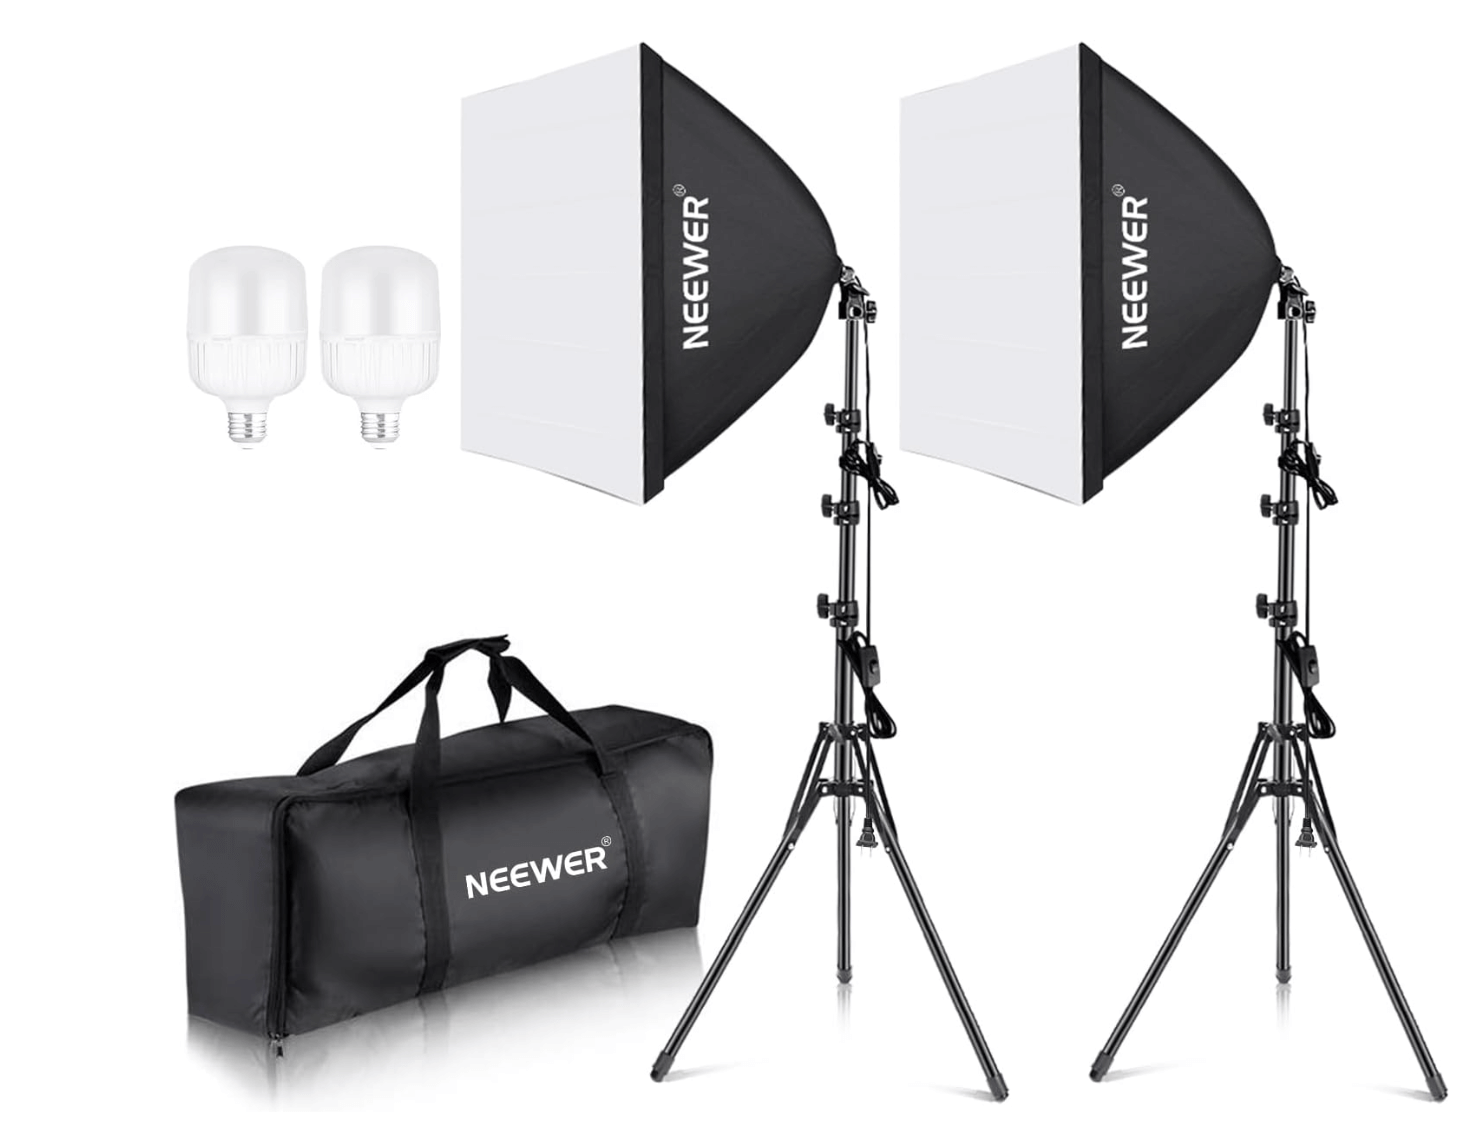
These are my main 2 lights that support the Amaran Key Light, with the RBG LED light by Neewer as the backlight.
And my main fill lights are softbox only fill lights – the 700 watts is a great fill light that creates dramatic impactful facial lighting like the Rembrandt effect.
And since the RGB light doesn’t come with a neewer light stand, you’ll need to buy that too for the RGB Neewer light.
Here’s the one I have:
You can get this one. But, I bought another Neewer light stand instead for the backlight and RGB LED light instead – as you’ll see below this paragraph. I was thinking it would be better bit it is not. I’m still looking for a better stand. I like how you can get the legs to flatten out, but it keeps falling over and the legs won’t lock correctly. Either I got a bad model or the design isn’t good. Or I just need to spend more money on a better light stand than this:
Get the Neewer Light Stand here
Mic
I’m using the RØDE Lav II Premium Mic Get Yours Here 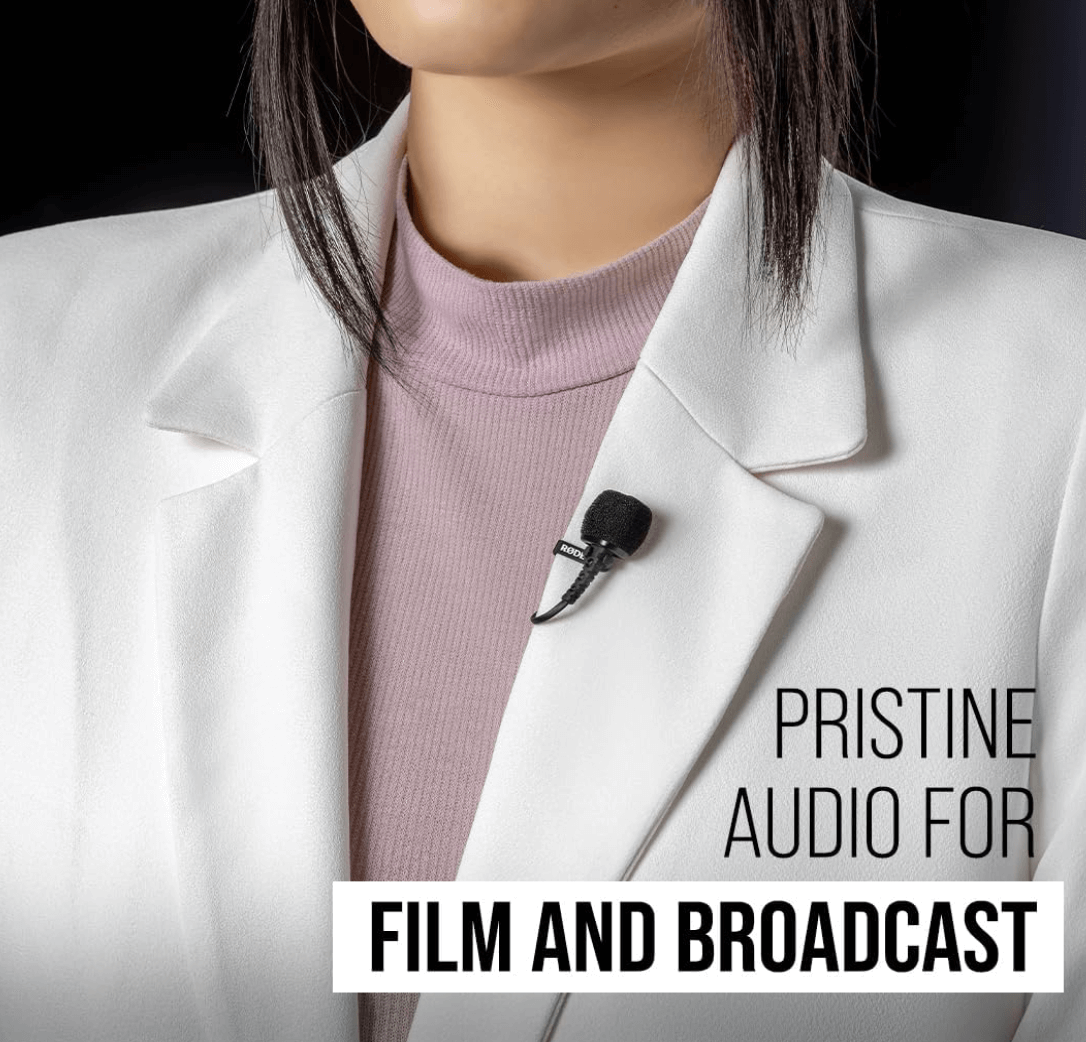 (with an Extension Cable from Rode) I plug the Rode Lav mic directly into my Sony a6300 SLR camera, so that it syncs audio and video at the same time. Also I got Non-Reflective Gaffers Tape. This helps keep a lav mic in place on your shirt.
Updated Review of Rode Premier: What I will say, if you’re a creator who needs to make a decent amount or a lot of video content for your brand, the Rode Premier Mic while high quality is so fickle it may not be realistic to use.
I have had to re-record countless times takes I thought were good because either my voice was too loud and blasted out the mic or the sound of clothes rubbing the mic head or just…bad shit I can’t explain why it didn’t pick up my voice well. So, if you have the exact positions
Buy Your Gaffer Tape Here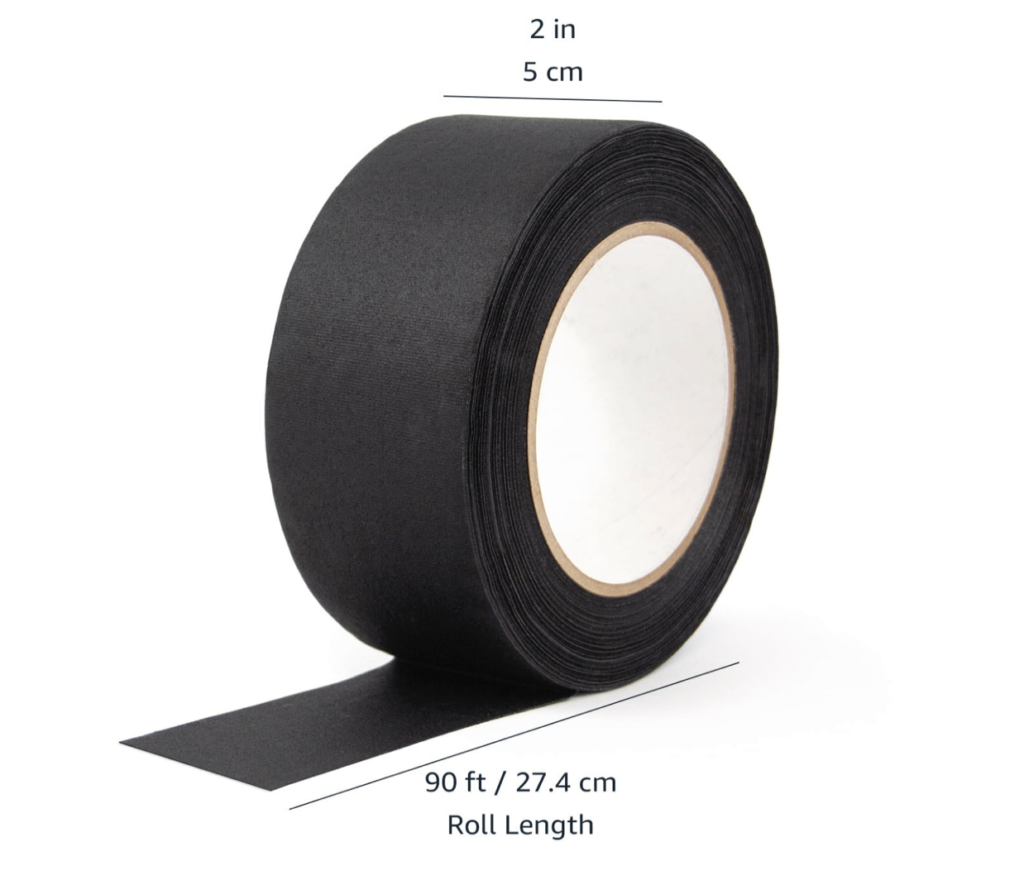
Don’t want to use a lav mic? You can buy a boom arm or a desktop condenser mic stands and use it with a condenser mic.
What’s the Best Condenser Mics for Video Studios?
I have Rode Pod Mic – the best mic for podcasts.
Get Your Rode Pod Mic Here
…which if I’m not using a Lav mic, is what I’d record with.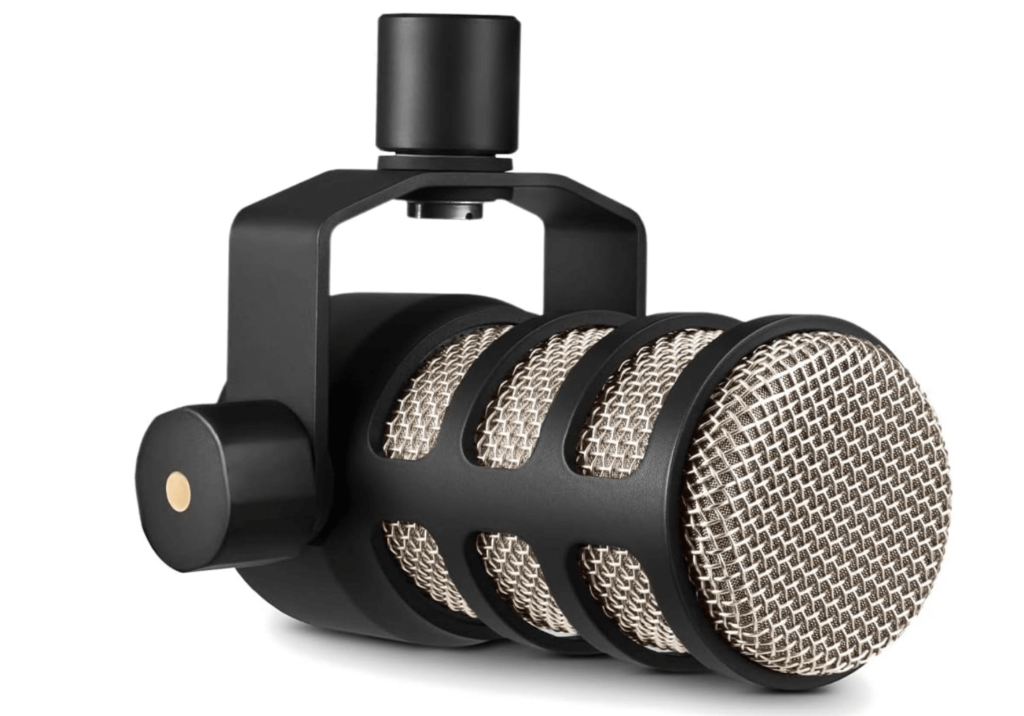
Connect the SLR Camera to your Laptop:
4K Micro HDMI to HDMI Cable (6 feet)
Micro HDMI to HDMI Cable (3.3FT)
Mic Positioning
Rode Lav Mic: The center of the chest, just beneath the bottom of the camera frame. I use the gaffer tape to secure the mic in place to not record extra sounds. Non Lav Mic: Mari Smith keeps hers directly under her chin facing up. Some Content Creators like to have the mic as an off screen Boom Mic.
If the choice is on camera or off camera mic – sound quality should be the deciding factor. You want crisp professional recording sound.
Condenser mics are famous for this sound, when you have good close-mic-ing techniques. So, if the mic is off camera on a boom arm, just make sure it’s still close enough to not record room noise.
If it’s on camera, have the boom arm come from the side to the left or right of your mouth. Or like Mari Smith directly underneath your chin, both get good recording quality.
Vital SLR Camera Accessories
[Find Your Camera Brand Versions of This]
128 gig SD memory card for SLR Camera: This prevents your camera from automatically stopping your video after 10-20 minutes. You may need to find the brand of SD card that works best for your camera. But the important part is get 128 gig size. And on this same topic of not being frustrated when your video stops recording…battery life is another thing that when it runs out. AND like the memory on SD cards, will stop the video from completing its recording. You solve that with a dummy battery that has a cord plugging into an AC outlet in the wall. And like the SD card you’ll need to find an SLR power adapter that fits your digital camera.
Content Creator Mobile Studio
Alright yall so for those of us also building a large social media influencer following…
…On Facebook or Instagram
(as TikTok may be banned from USA soon I’m leaving it out for now)
or YouTube – you need a good mobile video studio set up.
If your video has a strong enough hook, it won’t matter if your video isn’t perfect.
But if your audio is bad, no follower on social media will forgive this.
Introducing:
Rode AI-Micro USB Audio Interface,Black
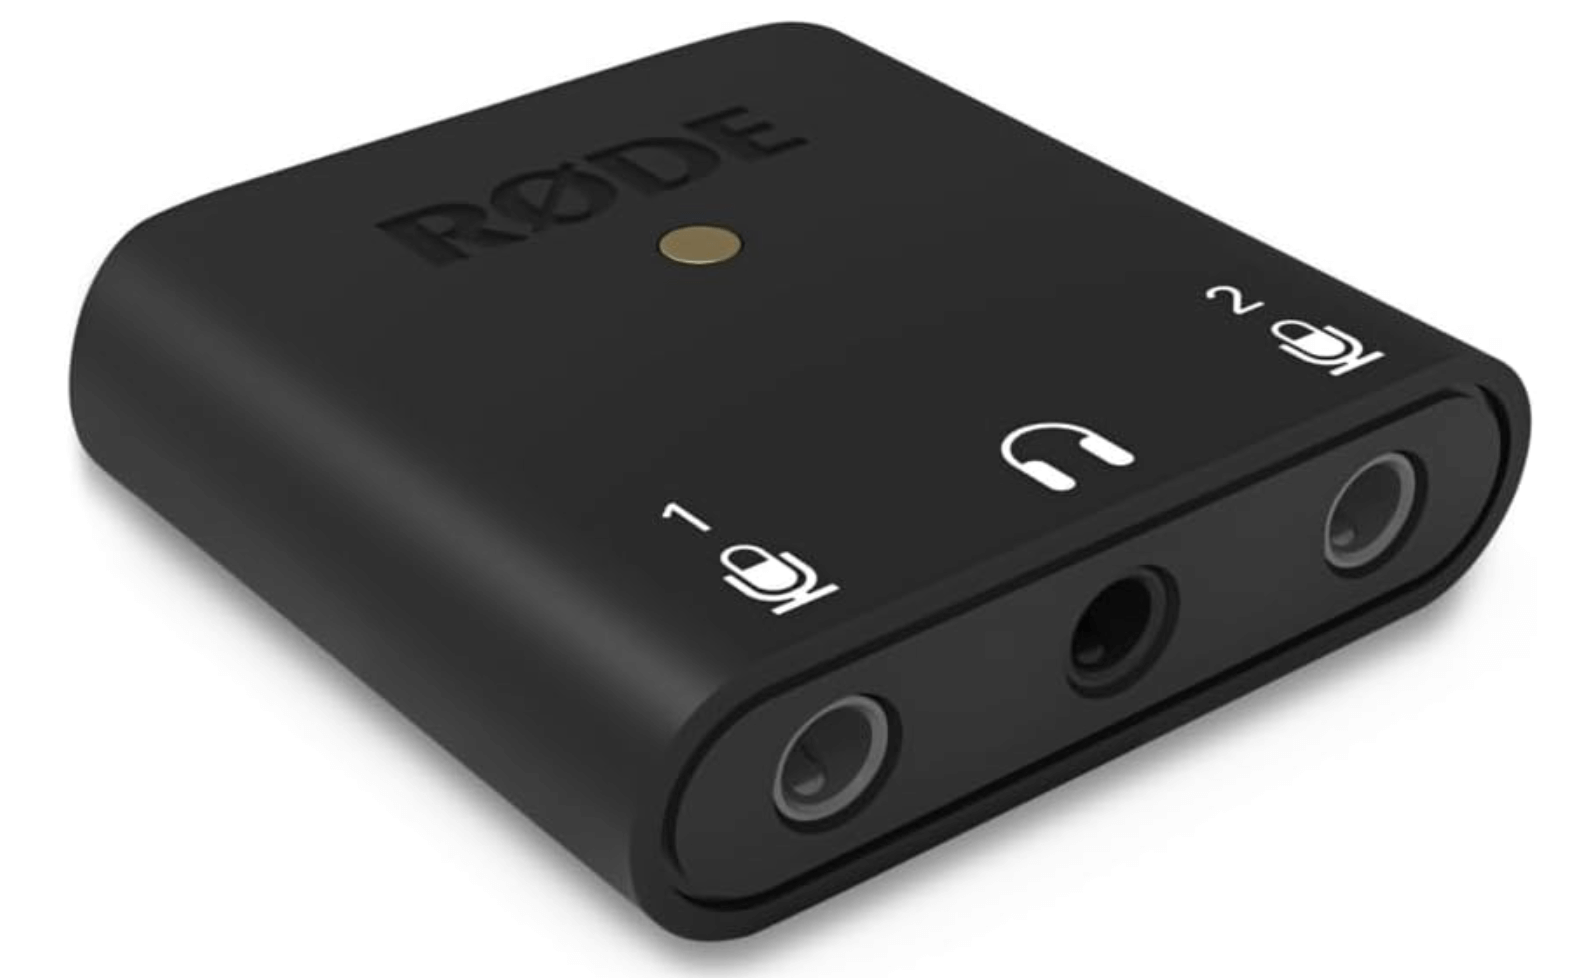
When you record a microphone into your phone or computer directly -like a USB Snowball mic- You’ll get basic bish quality audio. But, when you add in a preamp, it levels up your audio to studio quality. All by filtering the sound from the microphone through an EQ. This is before it hits your Macbook or iPhone or Android etc The Rode AI-Micro does just that. It’s a miniature preamp. And you don’t have to deal with googling the right cables to buy to connect it to your phone or laptop.It comes with every cable you could need, making it a great addition to your creator studio on-the-go.
RØDE Lavalier II Premium Microphone
Get Your Rode Lav Premo Mic
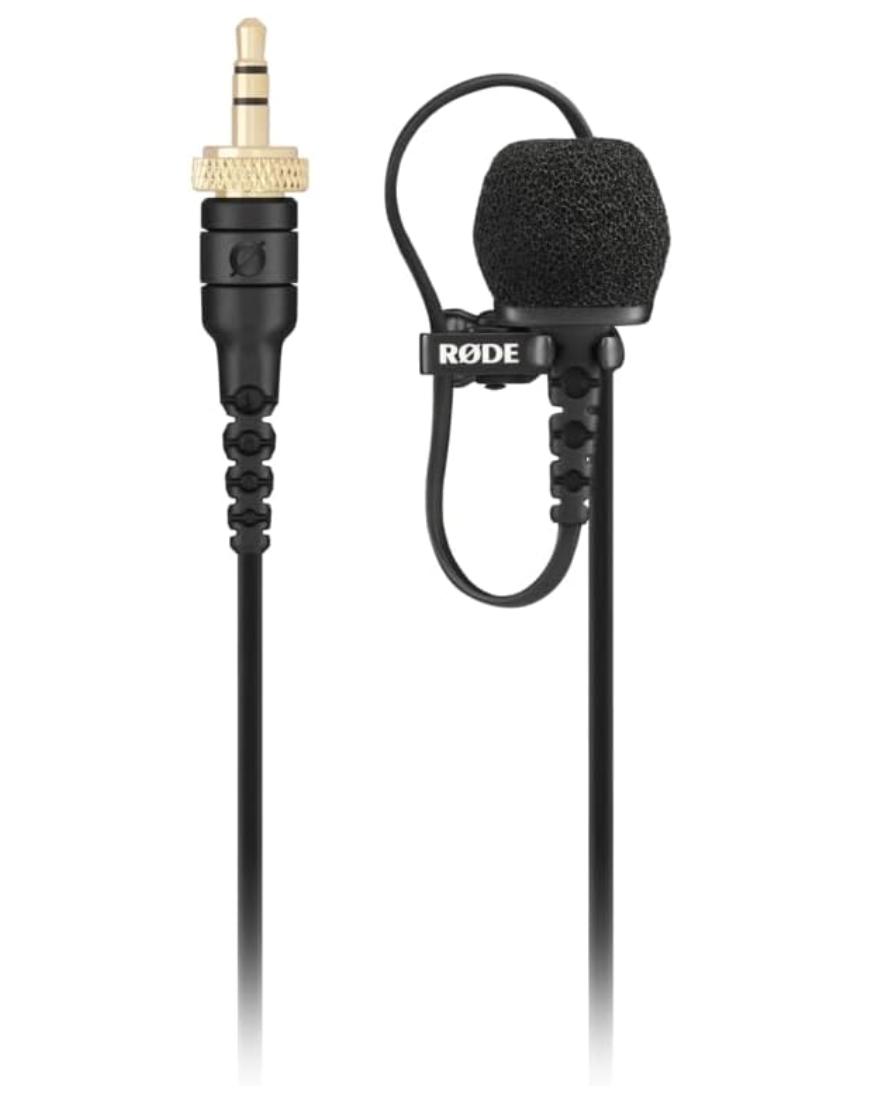
For a hands-free recording session a lav mic is a great choice. And Rode is a trusted brand that always delivers studio quality audio. Lav mics are great as they pin to your shirt. This is so you can talk to your fans looking at the camera, using your hands to express yourself. And point when necessary to illustrate what you’re saying. Rode’s Lav II Premier Mic stands head and shoulders above most lav mics for quality. Ready to take your mobile recording studio to the next level? Rode’s Lav mic when plugged into the AI-Micro creates a super high quality sound, that will not disappoint your IG Reel or FB Reel viewers. It is wonderful if you’re building a brand and becoming an influencer or thought leader through creating high quality content on your social media pages as this little set up fits in your pocket. Background | Backdrop for Filming Part 1
Kate Seamless Paper Backdrop Grey
Kate Seamless Paper Backdrop White
Cam Clamp & Background Paper
Camera Clamp
If I were to do this again: I’d pay more money for a higher quality camera clamp. The current clamp does it’s job well.
I’ve left my Sony a6300 SLR clamp attached for days to the Neewer Heavy Duty Light Stand with wheels (which has been amazing, this stand is the best light stand I’ve ever bought) – and it’s held up just fine. No issues with how securely the camera clamp holds the camera. But, when adjusting the camera clamp to get the right height or angle… …it’s been a bit harder to maneuver. A higher quality camera clamp would solve this. If I were starting over today:
Camera Clamp alternative:
1. Superclamp
2. Impact 6″” Extension Arm for Super Clamp(2 Pack)
3. K&F Concept Professional 28mm Metal Tripod Ball Head
This 2 piece unit clamp and arm may be better than my clamp I’ve already listed (with the tripod ball head optionally, for more movability angles for the camera). But, I’m going for the lean approach. And the camera clamp I listed is the most cost effective way to get started. I’ll prolly upgrade to the Superclamp and Impact Extension arm, the next time I buy new equipment for the home studio.
Background | Backdrop for Filming Part 2
Backdrop multiple sheets of different colors:
Neewer Photography 3 Roller Wall Mounting Manual Background I would have to hire someone to install this as it looks pretty complex. Or LINCO Lincostore Backdrop Support Stand Kit But, launching lean, and on a budget, right now, just use thumbtacks to put the paper backdrop on the wall. Now you know everything you need to know to set up a professional video studio with studio lights.
As an Amazon Associate I earn from qualifying purchases.
Closing thoughts:
TLDR: Lighting makes or breaks a professional video and if you spend money on anything, spend it on lighting. Don’t skimp. You can get away with a less expensive camera but not shitty lighting.
Bare Minimum you need the 5 Point Lighting Set Up:
- Amaran Key Light
- GVM Lantern Softbox
- Neewer softbox fill light
- Neewer LED back light
- Neewer tripod light stand
Great lighting saves me soooo much time. Every business Zoom for potential and current clients I look pro, every time. When doing instructional videos on AI and tech, I need to be able to flip on my key light, fill light and back light, sit down and record. This set up lets me do just that.
Lav Mic Update
So I realized, needing a quick plug and play solution for decent quality audio from a lav mic so I’m hands free without a condenser mic blocking my face. My Rode Premier Lav Mic is great, but it requires a lot of patience. I tend to say the same line over and over to ensure it records well.
SOPs
When I’m recording content that ISN’T on a high dollar course, but just for my Facebook or YouTube content, I switch to thePowerDeWise lav mic or Rode condenser podmic.
This is because I need a simple, fast way to sit down and record a quality video for my followers. The 5 point lighting set up lets me do this. The Rode Premier Mic slows me down, sometimes it’s worth it, sometimes I’d rather use the PowerDeWise. So, YMMV.
But the DeWise will do the job for a piece of educational content I’m using to build value with my audience, and save the more expensive and finicky Rode Premier Lav Mic II for pay-gated higher end info products. Do what’s easiest for you while still maintaining the lighting quality. Lighting has up-leveled everything I do in front of a camera. Hopefully this article will help you out in the #Creatoreconomy.